
Overview
Controls — often called barriers — are the measures you put in place to manage risk within a BowTie. They are what stand between a threat and disaster, and between the top event and its worst outcomes. Every control in a BowTie falls into one of two families, defined simply by where it acts relative to the top event.
- Prevention controls work on the left-hand side, before the top event, to stop it happening at all.
- Recovery controls work on the right-hand side, after the top event, to limit the damage.
Read together, the two sides tell a complete story: how you keep control, and what you do if you lose it.
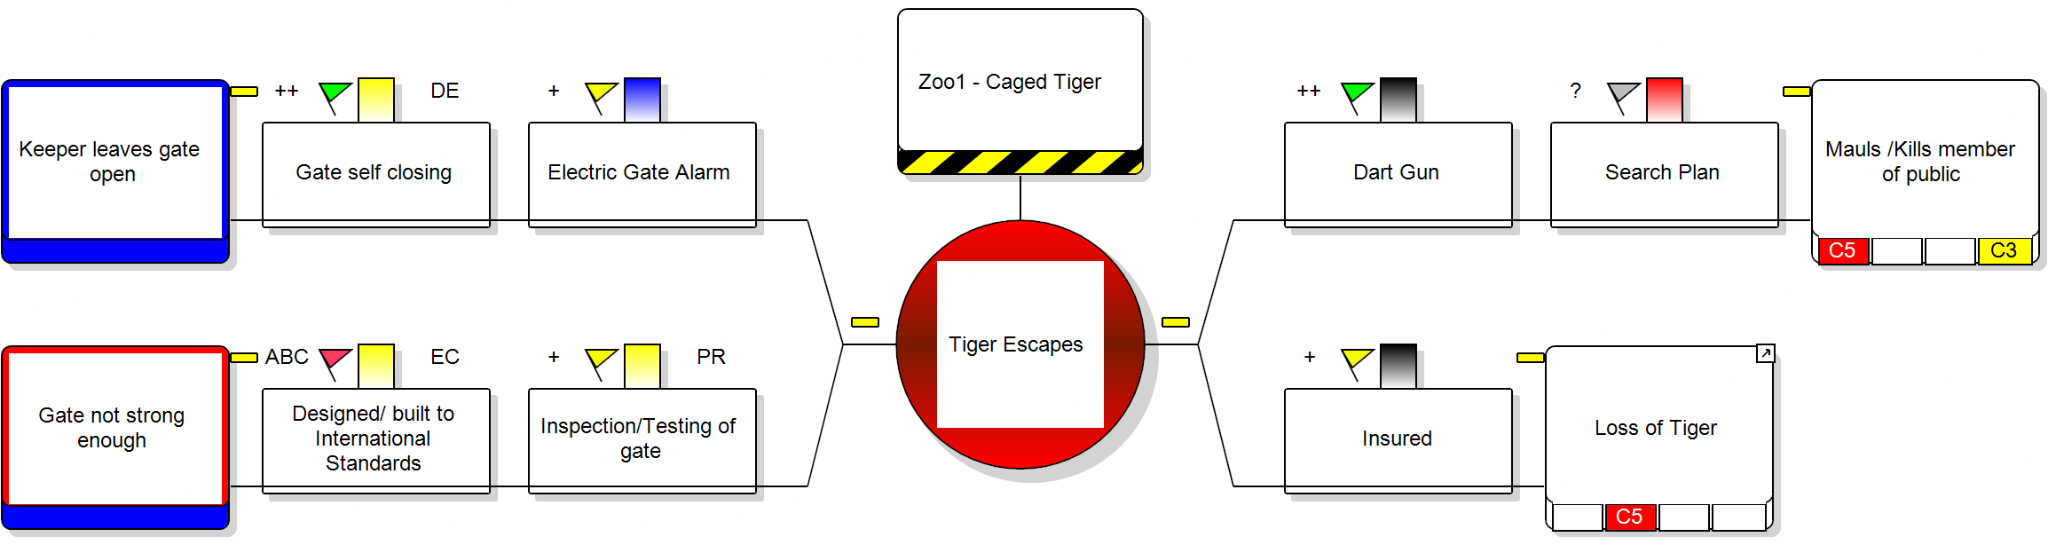
Prevention Controls
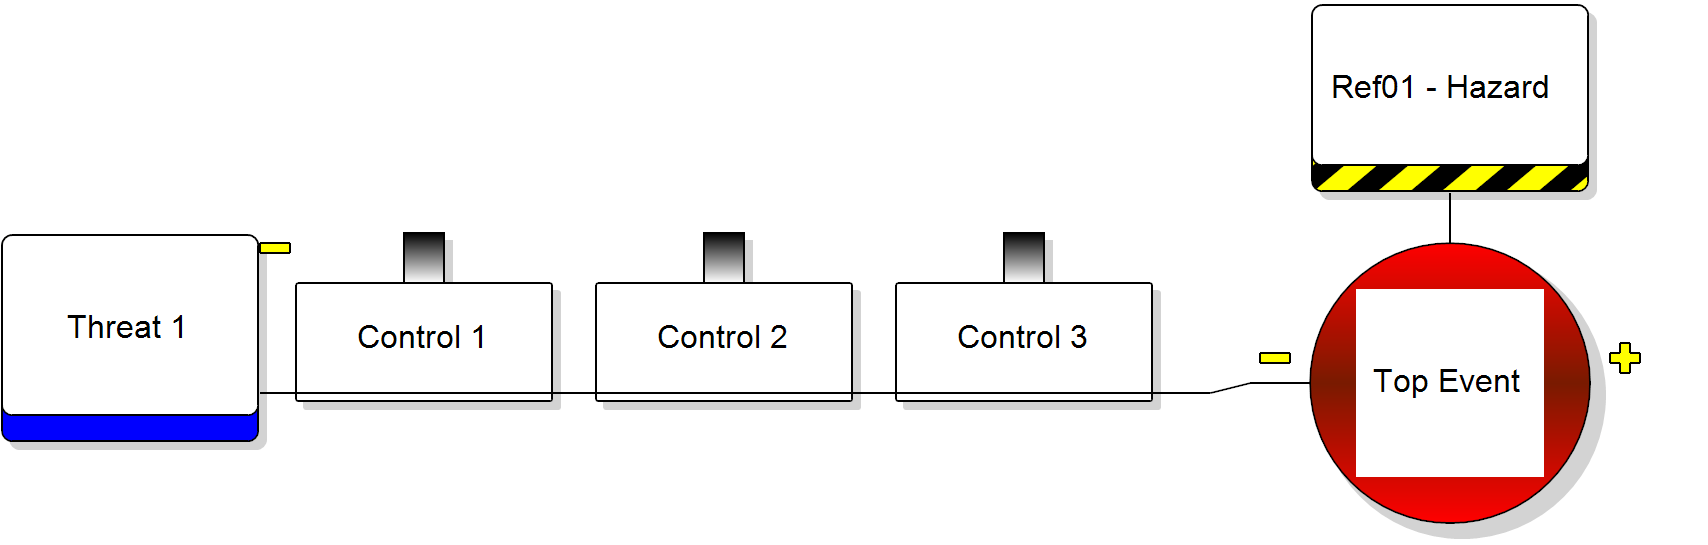
Prevention controls sit on the left side of the BowTie, on the lines running from each threat to the top event. Their job is to intervene before control is lost — either by removing a threat entirely or by stopping it from escalating into the top event.
They are designed to:
- Stop threats from triggering the top event
- Eliminate a risk, or reduce how likely it is to occur
Everyday examples include:
- Planned maintenance – keeping equipment in a condition where it is far less likely to fail
- Safety checks and inspections – catching problems early, before they can develop into something serious
- Training and competence – ensuring the people involved know how to keep the hazard under control
Recovery Controls
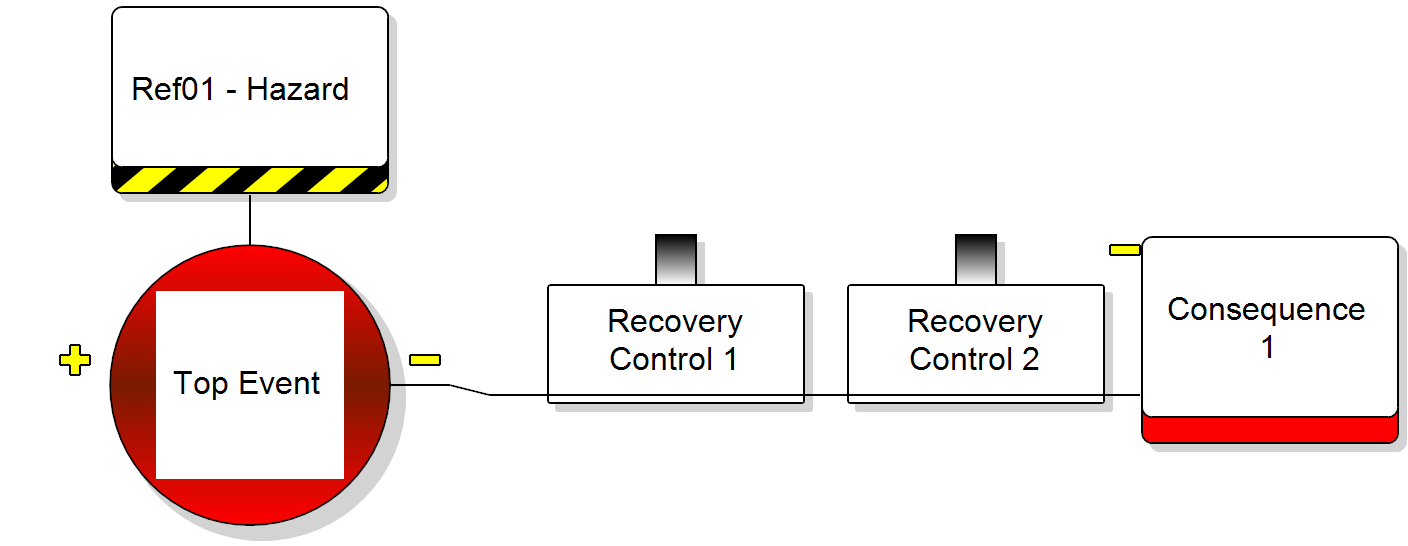
Recovery controls sit on the right side of the BowTie, on the lines running from the top event to each consequence. They come into play after control has been lost, working to reduce the likelihood of a consequence or to soften its severity.
They are designed to:
- Reduce the impact once the top event has occurred
- Limit how severe the consequences become
Everyday examples include:
- Emergency response systems – plans and teams ready to contain an incident quickly
- Safety equipment – measures such as airbags, sprinklers, or protective gear that lessen harm
- Insurance and contingency arrangements – limiting the financial or operational fallout of a loss
Recovery controls can act one after another or side by side. For clarity, a BowTie usually shows them in sequence, but in reality you should always consider how they depend on one another.
The Key Difference
The distinction comes down to timing and purpose — what the control is trying to do, and when it acts.
| Index | Prevention Controls | Recovery Controls |
| Goal | Stop the top event | Reduce the impact |
| When it acts | Before the top event | After the top event |
| Position in the BowTie | Left side (threat → top event) | Right side (top event → consequence) |
| Question it answers | “How do we stop this happening?” | “What do we do if it happens anyway?” |
Summary
Prevention and recovery controls are two halves of the same strategy. Prevention keeps you from ever reaching the top event; recovery limits the harm if you do. Neither is sufficient on its own — a risk managed only by prevention has no safety net, while one managed only by recovery has already accepted that the event will happen. It is the combination, addressing both causes and outcomes, that gives a BowTie its strength as a complete risk management picture.