
Overview
Once you’ve built a BowTie, you’ll often want to use it outside the application — in a report, a presentation, or a review pack. BowTie Pro lets you export the diagram as an image directly from the Diagram View toolbar, so you can share it, document it, or drop it into slides in just a couple of clicks. This guide covers how to open the diagram and export a clean, readable copy.
Accessing Diagram View
Step 1: Open the Hazards Section
From the top navigation menu:
- From the top navigation menu, click Hazards.
- This opens the Hazard List screen.
Step 2: Open a Hazard
- Locate the required hazard and click the View (eye) icon.
- This opens the Hazard Overview screen.
Step 3: Open Diagram View
- On the Hazard Overview screen, click Diagram.
- The BowTie Diagram View screen opens.
Exporting the Diagram
Step 1: Review the Diagram Layout
A little preparation makes for a much clearer export. Before you export, take a moment to:
- Adjust the diagram view if needed.
- Expand or collapse sections so the right level of detail is shown.
- Select your preferred display option.
- Check that all the information you want to capture is visible.
Getting the view right first means the exported image is clear and readable, rather than cluttered or cut off.
Step 2: Locate the Export Toolbar
At the top of the Diagram View screen, find the toolbar. It contains several diagram tools, including the export option — the same Export Diagram to Image button covered in the Diagram Toolbar Functions guide.
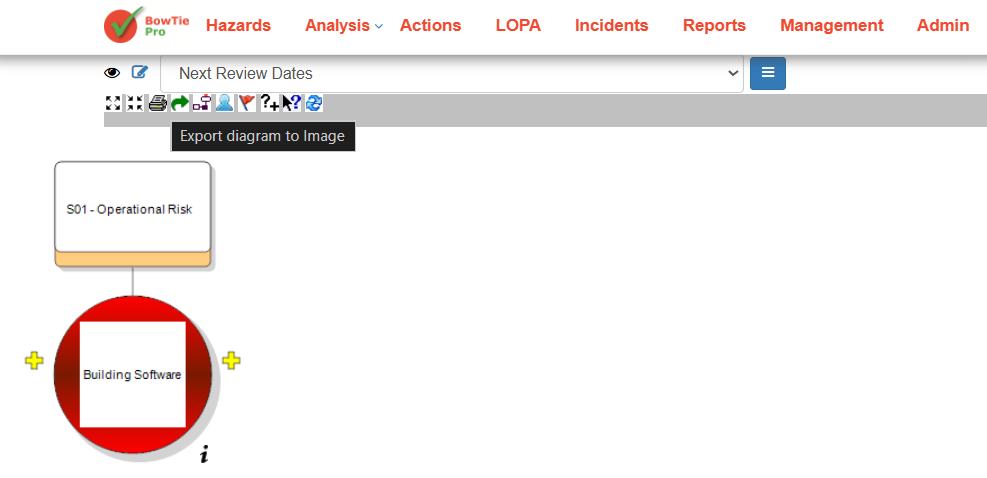
Step 3: Export as PNG
Click the PNG export icon in the toolbar.
BowTiePro will generate and download the current diagram as a PNG image file.
The exported image can then be:
- Shared with stakeholders
- Added to reports
- Used in presentations
- Stored for future reference