
Overview
When you create a new workspace in BowTie Pro, it will initially be empty. To help you get started, BowTie Pro provides example bowties that you can use as a starting point for exploring the system and learning how to create your own.
Your First Login
When you log in to BowTie Pro for the first time, you will be presented with an onboarding screen.
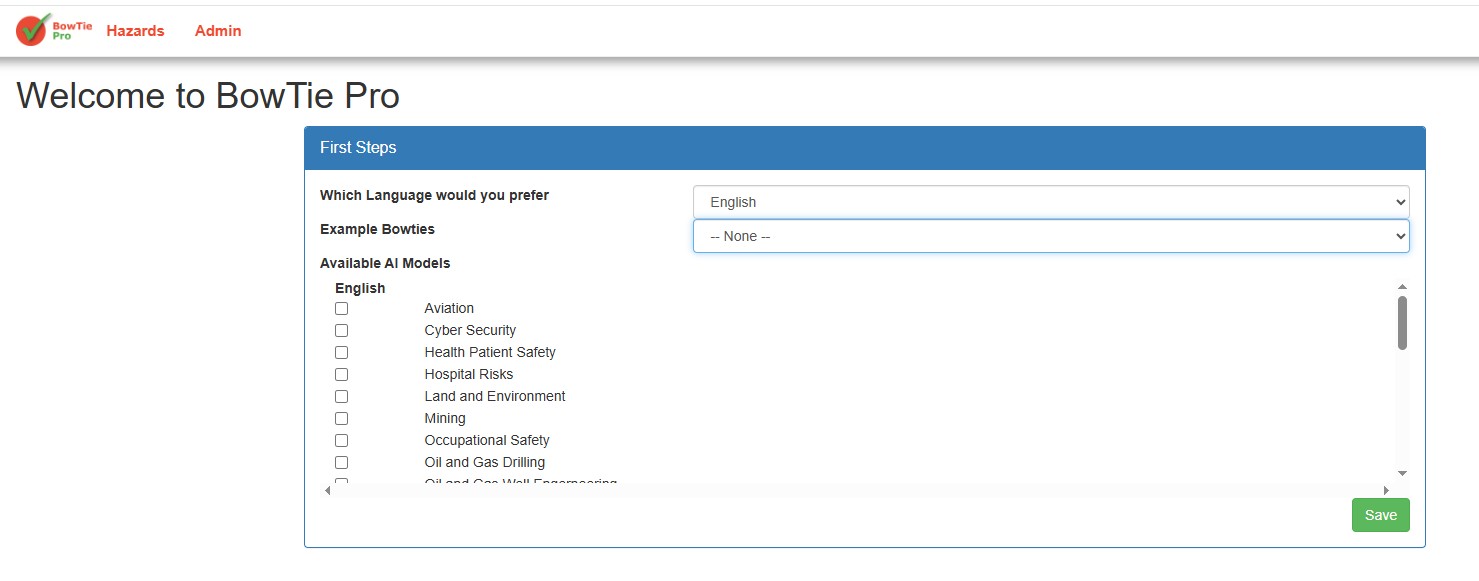
This screen allows you to customise your initial experience by selecting your preferred language, choosing example bowties to review, and configuring the AI models you want to use.
Onboarding Options
The onboarding screen provides the following options:
- Select Your Language
Choose the language you want to use in BowTie Pro. The system’s labels and interface text will be displayed in your selected language.
- Choose Example Bowties
Select the example bowties you would like to include in your workspace. These examples provide a useful starting point for understanding how bowties are structured and how they can be used.
You can use the examples to explore existing bowties before creating your own.
- Select AI Models
Choose which AI models you would like to use to help create bowties. You can select multiple AI models, allowing you to use more than one model to support the bowtie creation process.
These selections help configure BowTie Pro to suit your preferred way of working.
Next Steps
Once you have completed the onboarding selections, you can begin exploring your workspace, reviewing the example bowties you selected, and using the available AI models to help create your own bowties.